The Art to Scone Making
Ben Ashby
THE ART OF SCONE MAKING
By: Debbie Anderson || The Scone Lady
Photography: Kimberly Taylor
Walk into a tearoom in the UK and order a scone, and you will be given three options —plain, sultana (with golden raisins), or cheese. Google “scones” here in the US, and you will find that the flavor options are limitless. There are recipes for everything from the traditional plain (or cream) scone to a wide and creative variety including blueberry, cranberry, pumpkin, gingerbread and countless other flavors and combinations. We Americans have taken the traditional British teatime treat and added our own unique twists and creativity to that simple little quick bread.
When I first started baking scones, I began by working my way through a book of scone recipes. Each recipe was specific to a particular flavor of scone and seemed to require significantly different ingredients than the previous recipe. It actually became fairly annoying to have to go on a search through the pantry to find out if I had all the ingredients needed to bake a particular flavor of scone. Many, many of those early scone-baking sessions resulted in the neighborhood birds and squirrels enjoying a scone feast—for countless recipes resulted in dry and tasteless scones.
As I became more adept at scone baking, I began to understand that the secret to flavor variety was not going to be found in a cookbook of 100 different scone recipes. Rather, the key was to find a good base (plain) scone recipe (or scone mix) and then learn how to adapt that scone into a multitude of flavors. If the plain scone wasn’t good—then no amount of additions and toppings were going to improve its flavor.
And so the quest began. I finally found a scone recipe which met all of my criteria for the perfect scone, and over time I learned how to change it to create distinctly different flavors. Sometimes that adaptation was born of necessity—I can’t tell you how often I stood in front of the pantry frustrated that I was out of sugar—or chocolate chips—but I had brown sugar on hand, or canned pumpkin—and suddenly a new flavor was born. It does help, I learned, to have completely honest and captive guinea pigs—in my case, my then-teenage children and their friends, who were always in and out of the house and more than willing to sample a new scone flavor.
I have learned a few things over the years—and made a lot of mistakes as well. I was convinced that there was no mistake anyone could make that I haven’t already made—until one of my customers (a Bed and Breakfast owner) confessed that she set her oven on fire one morning while baking strawberry scones (and sent her husband down the street for an emergency bakery run!).
Creating a different flavor of scone is really pretty simple—as long as you follow a few basic principles of baking.
Keep the total volume of liquid the same as what is called for by the recipe or mix directions. For example—suppose you want to make a pumpkin flavor scone, and plan to add some pumpkin puree to the scone recipe. The puree behaves like a liquid—so you will need to cut back on the liquid called for in the recipe, and replace that liquid with pumpkin puree. If the recipe calls for 1C liquid, and you want to add 1/2C pumpkin puree, then spoon the ½ C of puree into your measuring cup and then bring the total volume up to 1C with the liquid called for in your recipe (usually cream/buttermilk/milk). Stir to blend completely, and use when directed in the recipe.
Do not change the total amount of dry ingredients called for by the recipe. Let’s way that your recipe uses 2C flour, and you want to add oats to the dough. To do that, you will need to cut back the flour by the same WEIGHT as the oats that you add. Dry ingredients are most accurately measured by weight, not by volume. (an easy rule of thumb here—3C of flour weighs 1 pound).
Different ingredients get added at different stages in the scone making process. You have three basic stages of scone making—measuring the dry ingredients into the bowl—cutting in the butter, and then blending in the liquids to create your dough. In general, dried spices get added to the flour mix, before cutting in the butter. Nuts and dried fruits can be added after the butter is cut in, but before the liquid is added. Fresh or frozen fruits are best folded into the dough gently after the dough is made, but before you cut the scones (see side bar for specifics). I learned this one the hard way—I was making blueberry scones for the first time, and put the berries into the bowl after the butter was cut in—then tried stirring in the buttermilk. Immediately the berries began to crush and spread blue juice and goo throughout the dough. That batch of scones has been immortalized in our family history as the day mom created Smurf scones!
Some of the easiest ways to change the scone flavor include:
Swapping brown sugar or a combination of white and brown sugar for the granulated sugar usually indicated in the recipe.
Adding dried fruits or nuts to the dough. Classic is always a winner. If you want to kick the results up a notch, toast the nuts before adding them to the flour and butter mixture. It not only intensifies the flavor but it helps maintain the texture and crunch during the baking process.
Enhance the flavor with spices, extracts, or citrus zests. Spices such as cinnamon, ginger, cloves, allspice, and nutmeg are natural add-ins, depending upon the flavor you are trying to produce. Citrus zests will also flavor the dough, as well as enhance the flavor of many different fruits you might be choosing to add (think blueberry lemon or cranberry orange). Dry spices can be added before the butter is cut in; zest should be added after cutting in the butter, but before adding the liquid. If you are adding extracts, stir the extract into the liquid ingredients before adding them to the bowl.
Add fresh or frozen fruits to the dough. If you are using frozen fruit, do NOT thaw the fruit before adding it to the dough. In general, soft fruits and berries are best added gently by hand once the dough is completely formed, but before you cut the scones. Roasted apples are an exception and can be added to the butter/flour mixture, before the liquid is added.
Fruit or vegetable purees can be substituted for much of the liquid ingredients. Remember to keep the total volume of liquid equal to the amount of liquid called for in the recipe—otherwise you will end up with a very soupy dough. Substituting purees for some of the liquid ingredients works particularly well in recipes that call for cold butter to be cut into the flour mixture, and then a liquid such as buttermilk, milk, or cream to be added. I would be cautious about this substitution when there is no butter in your ingredient list. In this case, the recipe likely calls for heavy cream, and the cream is then the sole source of fat for the baked scone.
During the holiday season, I like to take my plain scones and dress them up with holiday flavors. My current favorites include Cranberry Gorgonzola , Apple Ginger, and of course Pumpkin Spice.
Pumpkin Spice Scones—Using your favorite plain base scone recipe (see below if you are still searching for the perfect scone recipe) or mix, make the following additions/substitutions:
Add 1T pumpkin pie spice to the dry ingredients, and stir to distribute evenly
Cut in butter as directed
Substitute half to 2/3 of the total liquid called for in the recipe with pumpkin puree (NOT pie filling!). Blend the puree into the milk/cream/buttermilk, and then follow the recipe as directed to create your dough.
Pat out to a thickness of ¾-1”, cut into desired shape. Bake immediately or freeze dough for baking later.
* The baking time might be extended by a few minutes, since the pumpkin puree adds to the density of the dough.
Cranberry Gorgonzola Scones —These scones smell absolutely wonderful in the oven, and are a perfect addition to a lunch or supper of soup and salad. Again, start with your favorite base recipe or mix.
Once the butter has been cut in, add 4-5 oz (a small container from the grocery store) crumbled gorgonzola cheese.
Add milk/cream/buttermilk as directed and form your dough.
Pat out the dough on a floured surface and add a generous handful of fresh or frozen cranberries to the top of the dough.
Fold the dough over onto itself 2-3 times (again, do not overwork or knead) and re-pat the dough to the desired thickness (I recommend ¾-1” thick).
Cut into desired shapes and bake immediately or freeze dough to bake later.
Apple Ginger Scones—these are a little trickier to create, but are well worth the effort.
You will need:
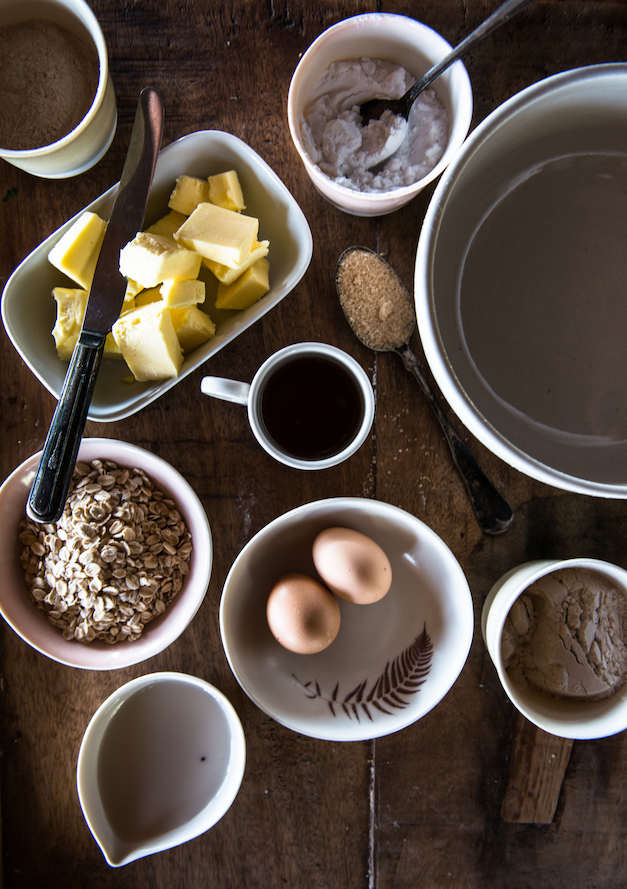
1C roasted apple chunks (peel, core and dice 2-3 baking apples. Place on cookie sheet and bake at 375 until fork tender—15-20 minutes). Cool completely before using.)
1T Powdered Ginger
1/2C unsweetened applesauce
Molasses (2T or so)
1/2t cinnamon
1/2t allspice
Brown Sugar
(When I make these, I actually usually start with our (Victorian House Scones) Gingerbread Scone Mix.)
If you are starting with a plain base recipe
Substitute brown sugar for the white sugar.
Add 1 heaping T of powdered ginger, 1/2t cinnamon, and 1/2t allspice to the flour and other dry ingredients. Stir to distribute spices evenly.
Cut in the butter as directed by the recipe. Add the cooled roasted apples to the mix and stir to distribute throughout the mixture.
Blend together 2T molasses and 1/2C unsweetened applesauce, then bring up to 1C (or total volume) called for in the recipe. Stir into the flour/apple/butter mixture to form the dough. (if less total liquid is called for in the recipe, reduce the molasses and applesauce proportionately).
Turn out onto a floured board, pat to desired thickness, and cut into desired size and shape. Bake immediately or freeze the dough to bake later.
Scone Making Basics Sidebar
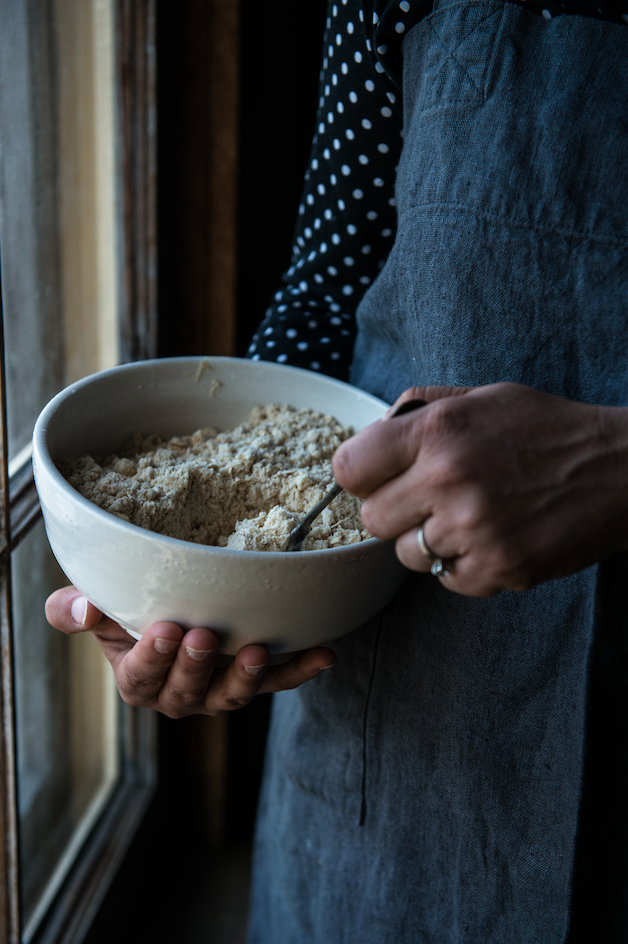
Use cold (or even frozen) butter when making scones. A very easy way to cut in icy cold butter is to first grate it with a cheese grater. Wrap it lightly and freeze for 15-20 minutes (while you assemble the rest of the ingredients). When you are ready to use the butter, drop it into the bowl, and cut it in with a pastry cutter, or mixer or food processor. It will go in very quickly, and leave perfect little nubbins of butter scattered throughout the mixture.
Handle the dough very minimally. The less the dough is handled and kneaded, the lighter it will be. I once saw a demonstration where the woman was incorporating the liquid into the butter/flour mixture with her hands—or rather, with just ONE hand. When asked why, her comment was that this way she would have scones, not STONES. Using both hands together would result in the dough being kneaded and overworked thus yielding tough and dry scones.
To add fresh or frozen fruit to the dough, pat the dough into a circle as if you were getting ready to cut your scones. Put a generous handful of fruit such as blueberries on top of the dough. Gently fold the dough over the fruit 2-3 times, and then gently re-form the circle. This process will work the berries into the center of the dough. Take care not to overwork or knead the dough. Reform the circle and cut the scones into desired shape.
Links to some basic scone recipes or mixes
www.elmwoodinn.com/recipes/elmwood_scones.html (offered with permission of Bruce and Shelly Richardson of Elmwood Inn Fine Teas)
www.kingarthurflour.com/recipes/scones-recipe
(Each of the above recipes call for eggs. Not all scone recipes need eggs—our mix uses no eggs, and buttermilk rather than heavy cream or half and half.) Ultimately your favorite scone recipe or mix is going to be what you believe tastes the best!


